How do I mount BEACN Mic on a boom stand?Updated a month ago
Mounting BEACN Mic on a stand is pretty straightforward, but we did put some extra care into how our mic mount works, so we'll run you through a few steps and tricks.
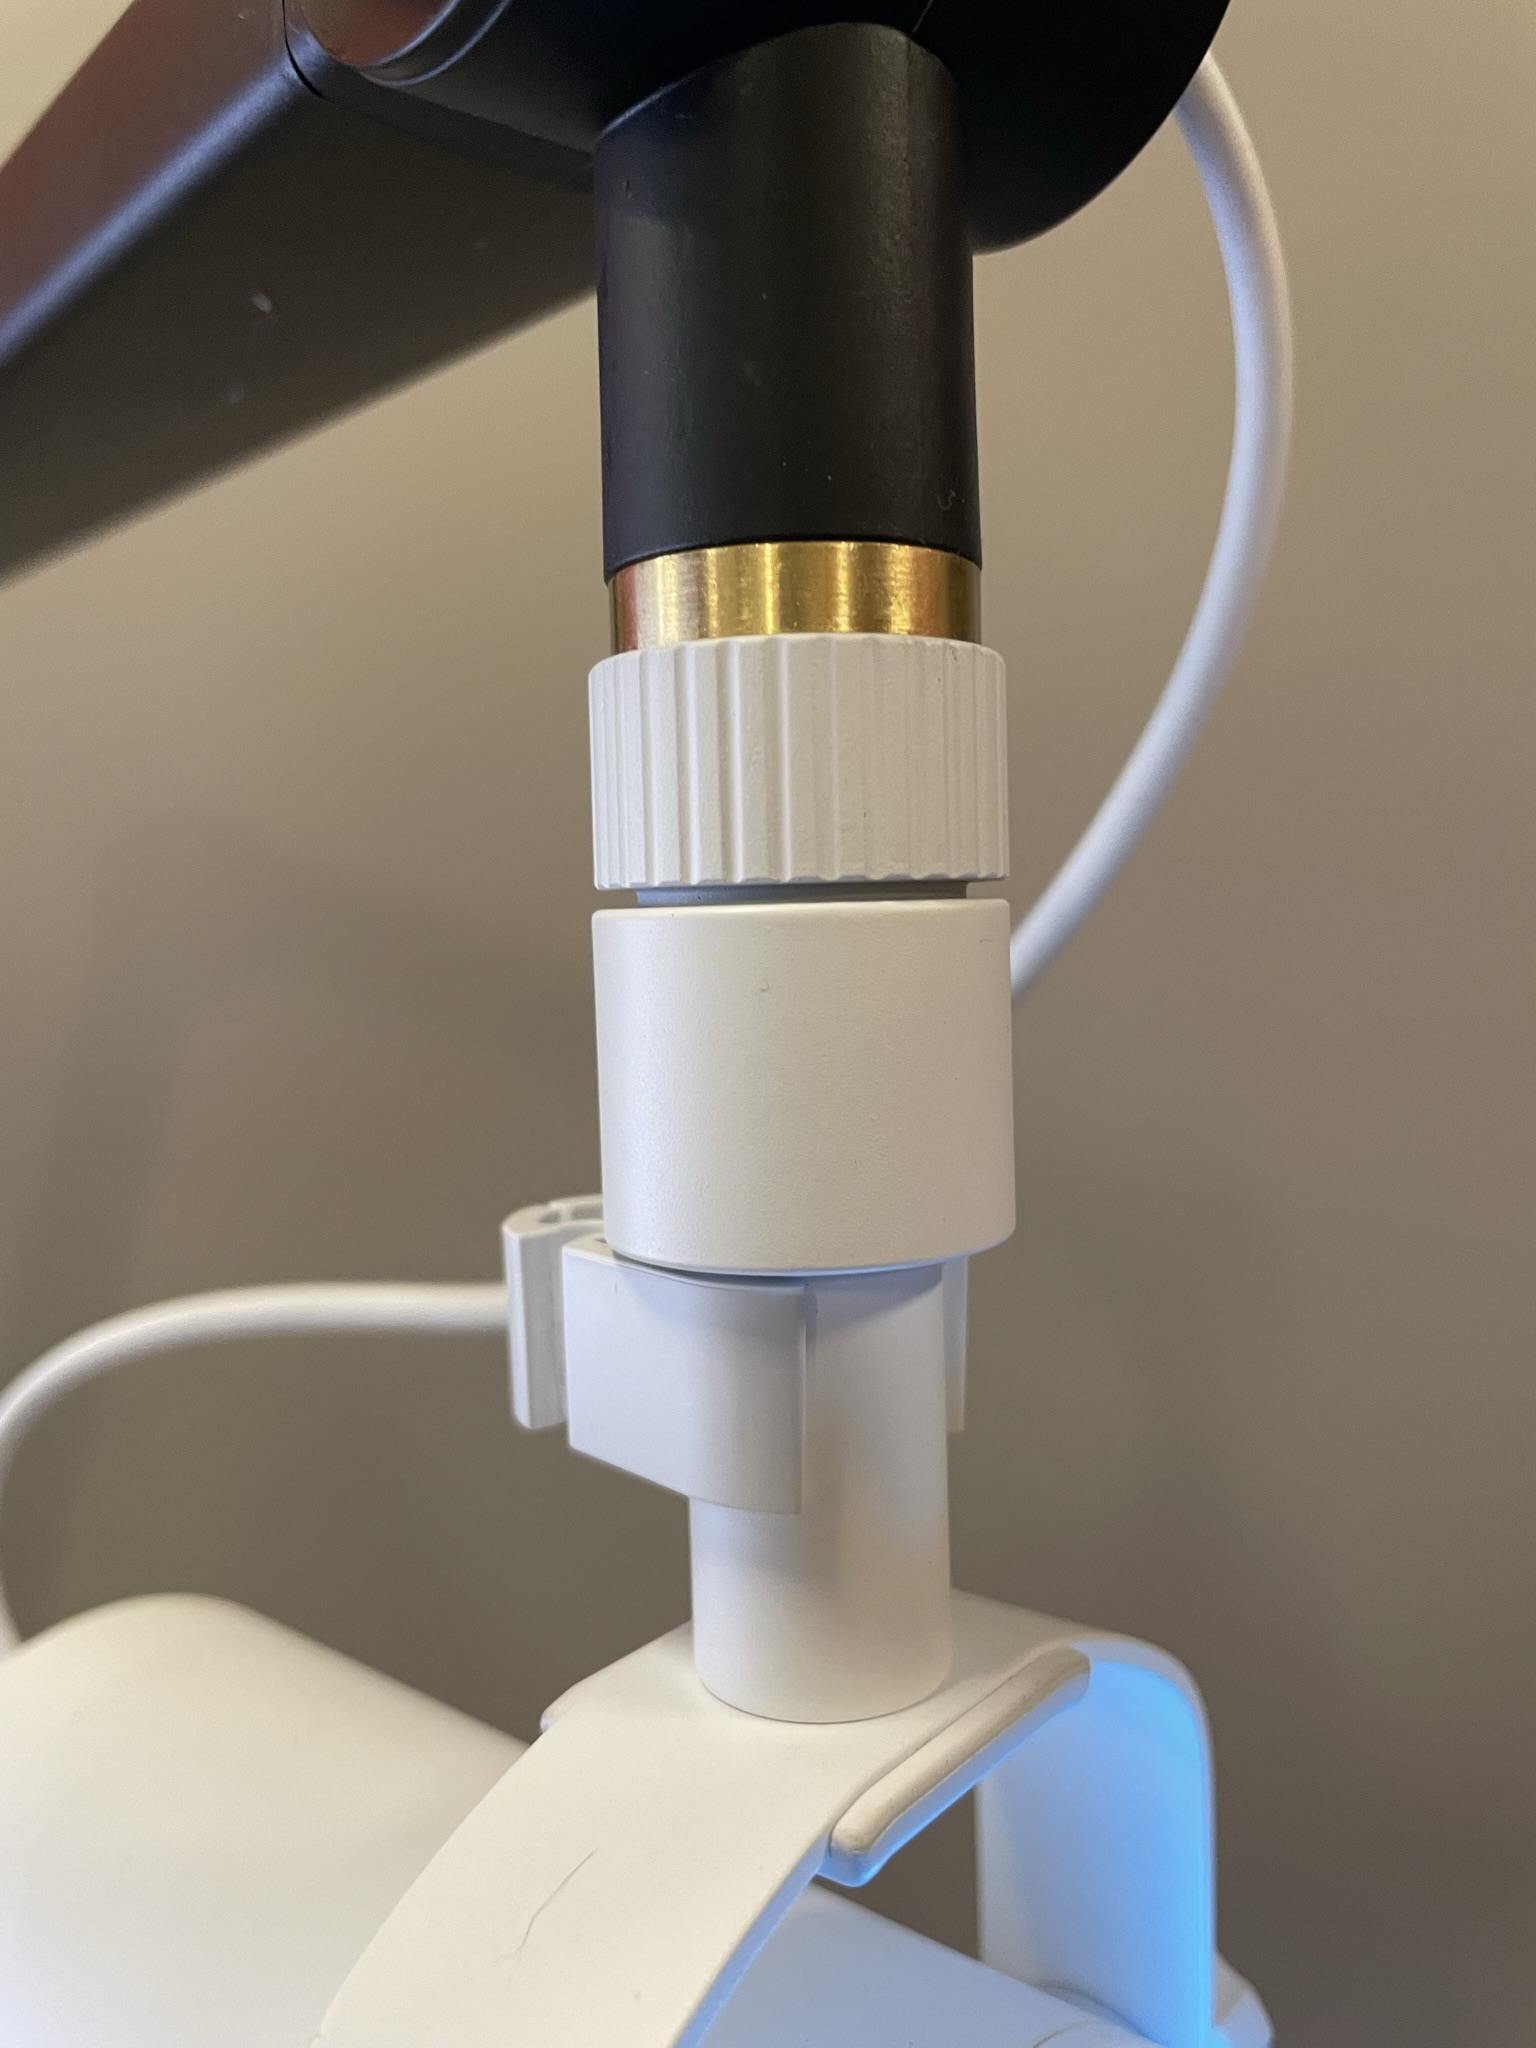
You'll notice that there are two "rings" at the top of the mic mount. The top ring has ridges/texture on it and the bottom ring is smooth. The intent is that the top ring fully tightens onto your mic stand (yes as hard as you can) and then the bottom ring allows you to loosen the mic and swivel it side-to-side for adjustments without loosening the mic's connection to your stand. Pretty handy if we do say so ourselves!
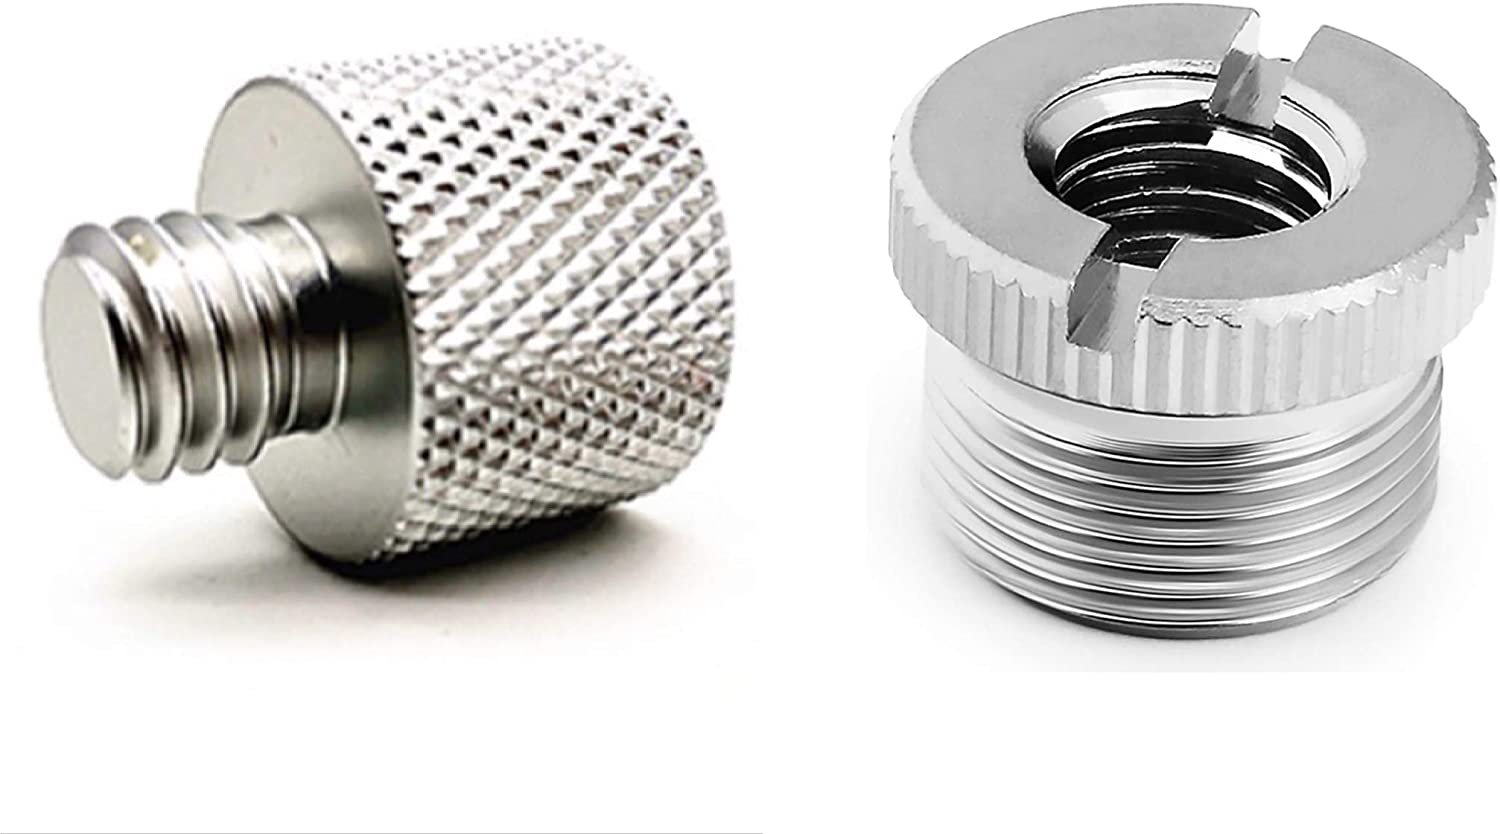
The top ring fits both common types of mic stand threading (3/8" and 5/8"), as shown in the picture below. You won't need an adapter to fit BEACN Mic on your stand.
- Hold the "ridged" top ring in one hand
- Loosen the "smooth" bottom ring a few turns clockwise
- Align the top ring with your mic stand and turn clockwise until it is tight.
- Throughout the tightening process, you may find that you need to re-loosen the bottom ring. This is normal and part of the mechanical design.
- It's ok to really cinch down the top ring during this process, but we recommend not using tools as it can make things difficult to remove in the future and/or damage the paint.
- Set the microphone rotation to a position that works for you
- Tighten the bottom ring finger tight
- You can set the tightness of the ring so the mic doesn't move or leave it slightly looser such that friction holds the microphone in place and can still move the microphone back and forth for small adjustments
Quick Note
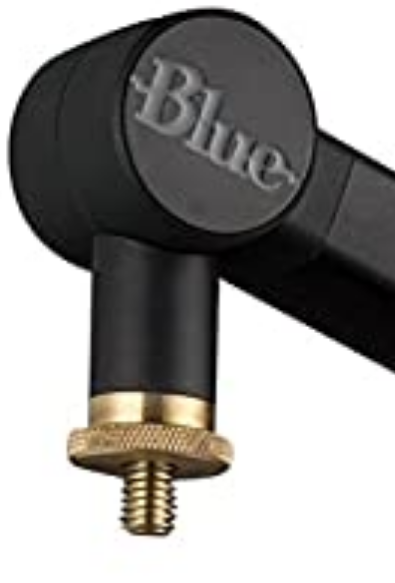
Some microphone stands, like the Blue Compass when using the EU threads, have a "washer" or "ring" that is attached to the mounting point. This washer must be removed in order for the threads to be long enough to reach the inner EU mounting threads on the inside of BEACN Mic's mount. The washer is the textured ring below the top brass piece in the image below. Simply unscrew it and remove it.