How to remove and replace the BEACN Mic Foam WindscreenUpdated a month ago
There may be instances where you want to replace the foam windscreen on your BEACN Mic (replacement windscreens can be found here). In this article, we will detail how to remove and replace the windscreen on your BEACN Mic!
What you'll need:
- BEACN Mic.
- A plastic tool such as a plastic Spudger. A guitar pick will work in this case as well so long as its hard enough. A .73mm guitar pick will work also.
- If you are replacing the windscreen, a replacement windscreen.
Important Note
Avoid using metal tools when removing the windscreen. You risk scratching and damaging the BEACN Mic
Removing and replacing the windscreen:
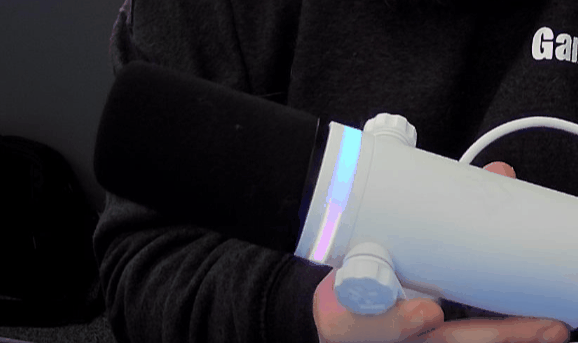
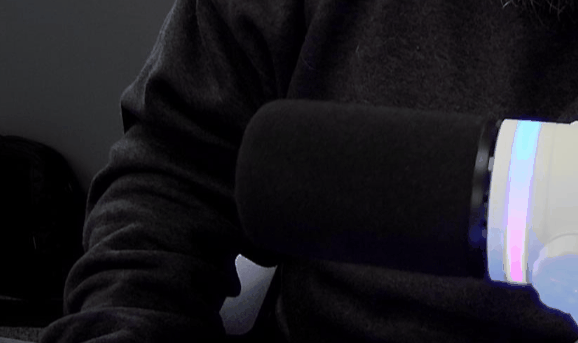
- Take your plastic tool, and on the bottom of the plastic on the windscreen where it meets with the body of the BEACN Mic, carefully and gently push at the seam with the tool until it slides into the seam
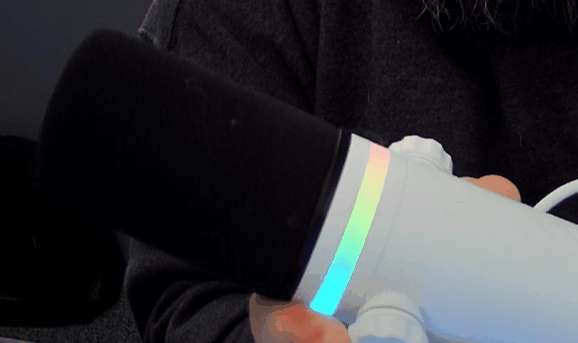
- Using the plastic tool, slowly work your way around the seam, releasing the windscreen from the BEACN Mic
- Once you've worked your way around the seam fully, the windscreen will be completely separate from the BEACN Mic. Gently remove the windscreen.
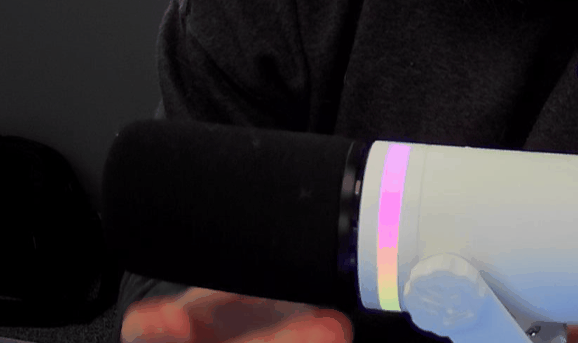
- Once the old windscreen is removed, take your new windscreen, and slide it on the BEACN Mic.
Important
The windscreen for BEACN Mic has 4 clips. It's important to line these up with the 4 holes when putting a windscreen back on the BEACN Mic
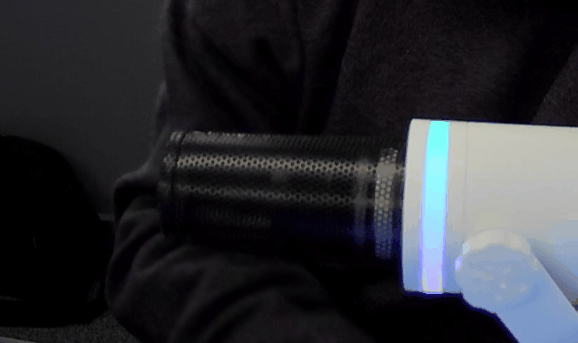
- From here, gently start pushing in one of the clips, and start working your way around the windscreen, pushing in the clips
That's it! You've just removed and replaced the windscreen on your BEACN Mic!